Tips and Tricks
How to download and install latest firmware on Galaxy S20 devices using Odin
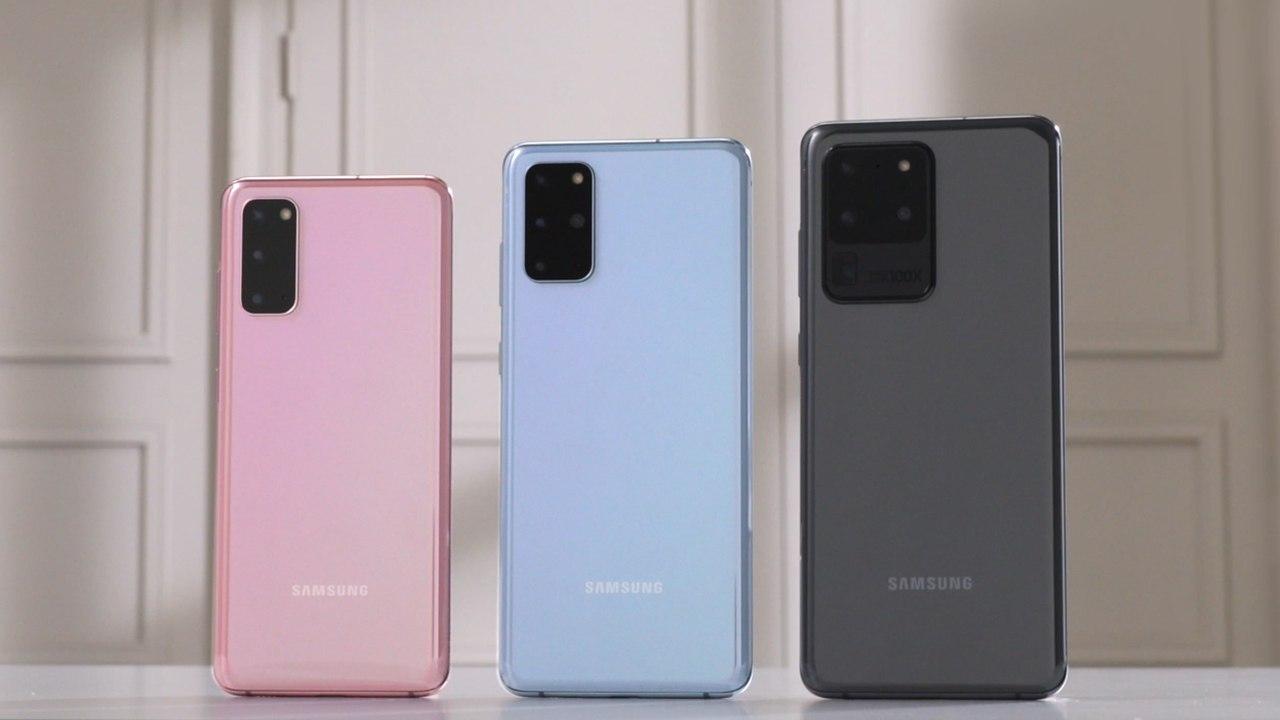
At the unpacked event held in February 2020, Samsung added three new flagship smartphones in its Galaxy S-series, Galaxy S20, S20+, and S20 Ultra as a successor to the Galaxy S10 series. These smartphones were launched with many premium features and pre-installed One UI 2.1 based Android 10.
Samsung releases updates for its Galaxy S20 devices differently in various regions and it may take some time to reach them to your smartphone via OTA. However, you can also install these updates manually on your S20 smartphones before it comes to your region using the Samsung firmware installation tool, Odin.
If you want to install the software update manually on your Galaxy S20 devices using Odin, then follow the steps mentioned below:
1. Requirements:
- A Windows PC
- Galaxy S20 device
- USB cable to connect your device to PC
- The latest version of Odin Software
- Firmware for your device
Here is a quick overview of the steps that will be involved for manually downloading the software update in your Samsung Galaxy S20 devices:
- Downloading update package for your Galaxy S20 device
- Download Odin
- Understanding Odin
- Setting up your device
- Making sure about the things before starting the installation process
- Extract firmware
- Installing firmware on the device using Odin
2. Downloading update package for your Galaxy S20 device
You’ll need to download the firmware to install it on your device. To download the update package correctly check our complete guide on how to download firmware for Samsung phones here.
3. Downloading Odin
You can download the latest version of Odin software from here.
4. Understanding the interface of Odin Software:
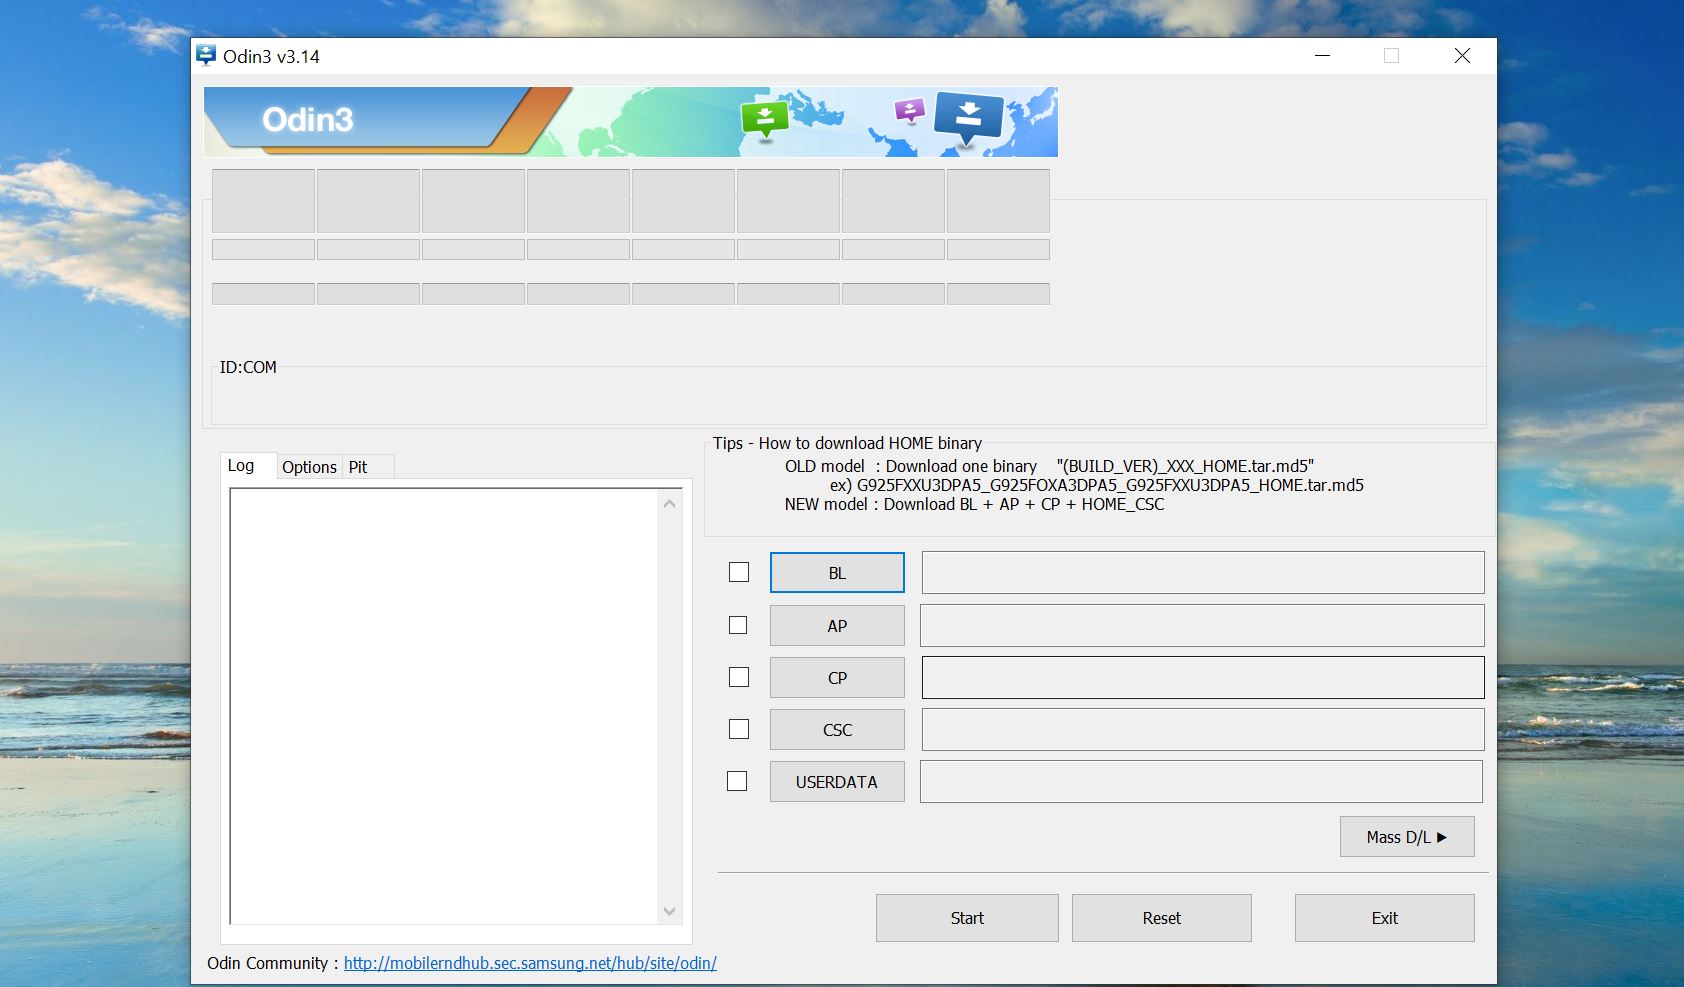
After you install the Odin, Open the software and you’ll find four different sections and buttons for the respective section, where you can upload the extracted firmware file. These are:
- BL: Bootloader
- AP: Android Partition
- CP: Modem/Radio
- CSC: Consumer software customization
- USERDATA
There are three buttons on the bottom – Start and Reset alongside Exit
5. Make sure about the following things before you start the process:
- Back up your important Data, before installation
- Use the USB cable that comes with your smartphone
- Keep battery sufficiently charged
- Do not disconnect your phone during installation
6. Extract Firmware:
Extract the firmware and should get 5 files including the following:
- AP
- BL
- CP
- CSC
- HOME_CS
Note: Use CES_ if you want to perform a clean install or Home_CS_ to keep your personal apps and data.
7. Setup your Galaxy S20 device:
Before you start the process you need to reboot your device into Download/Odin mode (make sure your device is off).
You can do this on your Samsung Galaxy S20 devices by the steps mentioned below:
- Power off your smartphone
- Then, holding the volume up and volume down button, simultaneously plug the USB Type-C cable into the device
- A warning message will appear
- Press the Volume up button to enter the Download mode (pressing the Volume down button will cancel the process)
Remember, these steps for the download mode are different for every Galaxy device and will be only applicable to the S20 devices. So, do not try it on your other Galaxy model
8. Installing the firmware on your device using Odin:
- In download mode, connect your smartphone to the PC using the USB cable that came with your smartphone.
- Open Odin and it’ll automatically detect your device and a Blue box will appear with the COM port number.
- Do not tick or press any other options.
- Click the Start button and it’ll start the firmware installation
- Wait for the installation. Once finished, it’ll show “PASS” output and your device will reboot and you can disconnect your smartphone and set it up.
Tips and Tricks
Samsung Galaxy S23: How to apply screen protector, install/remove cases and gadgets
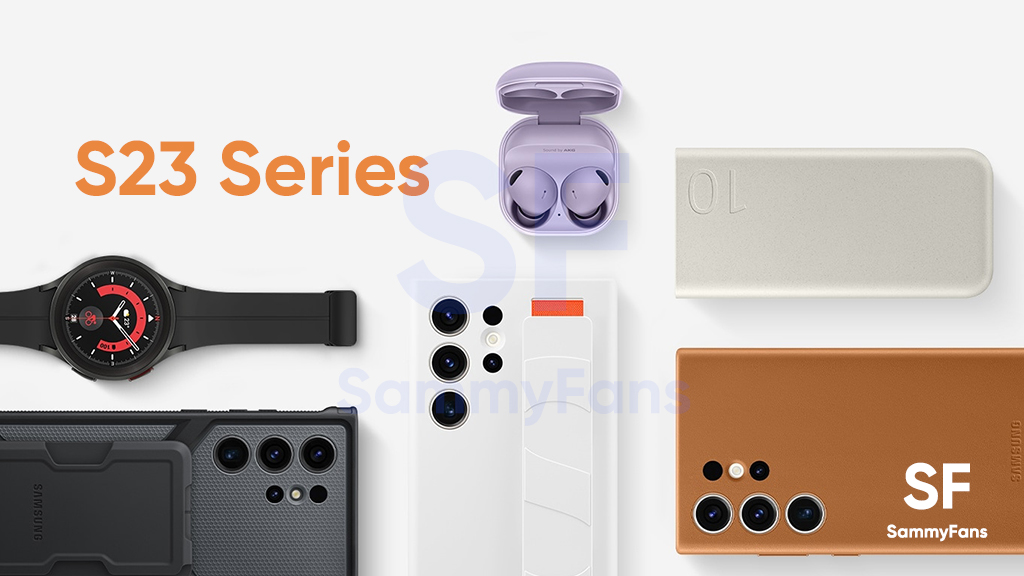
On February 1st, Samsung unveiled the Galaxy S23 series for consumers internationally. On February 17, the company announced the availability of a new lineup in 55 countries. Since S23 units have started to get delivered to early buyers, you should know these two crucial tips for your Samsung Galaxy S23.
Samsung officially published two video guides on its YouTube channel. The first video guides you to perfectly apply the screen protector on your Galaxy S23 / Plus / Ultra smartphone. The second shows how you should install and remove cases and gadgets.
Follow our socials → Google News, Telegram, Twitter, Facebook
In case you’ve purchased the Galaxy S23 smartphone, it becomes important to apply an external screen protector to keep it safe against accidental scratches. Through the official guide, you can apply a screen protector without leaving any of those annoying bubbles or dust particles trapped underneath.
Here’s how to apply screen protector:
Most customers prefer installing a case to give an extra guard against unwanted drops. However, cases and covers nowadays are also being used to further expand the usability and productivity of smartphones. Below, you can watch a tutorial on how to install and remove cases and gadgets.
Here’s how to install and remove cases & gadgets:
Follow our socials → Google News, Telegram, Twitter, Facebook
Tips and Tricks
How to change screenshots folder in Samsung Galaxy: One UI 5.1 Tips and Tricks
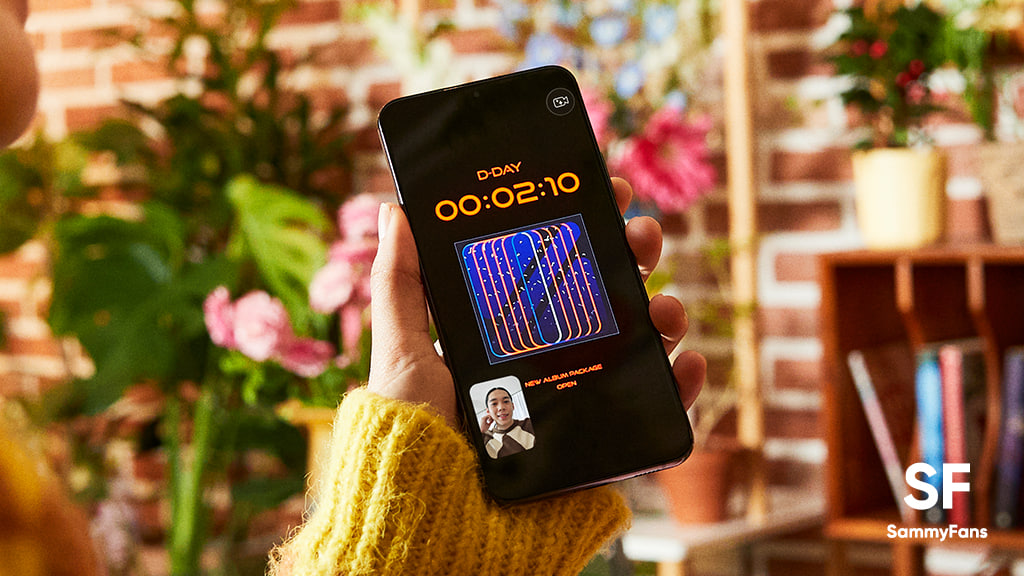
Until the One UI 5.0, there’s no way to customize the folder of saved screenshots. Though, a bit late, Samsung officially brought the ability to change the folder where screenshots and screen recordings are saved, thanks to the new One UI 5.1 update.
Samsung’s One UI saves screenshots and screen recordings in the DCIM folder by default. Most users wanted the ability to customize the screenshots storage folder, and the new One UI 5.1 update makes it possible on Galaxy devices. If you want to know how to change location, follow the steps given below:
Follow our socials → Google News, Telegram, Twitter, Facebook
- Open the Apps Screen, visit System Settings, followed by Advanced features
- Beside the Smart suggestions, you should see the Screenshots and screen recorder tab, tap on it
- For Screenshots,
- Tap the “Save screenshots in” option
- For the Screen recorder,
- Tap the “Screen recordings in” option
By changing the location, you can prevent the Google Photos app from backing up screenshots and screen recordings. This is quite useful as screenshots will no longer occupy the storage of Google Photos cloud storage. However, separating them also enhances access to the DCIM folder for important images.
One UI 5.1 is official
On Feb 15, Samsung officially introduced the One UI 5.1 software for older Galaxy devices. Apart from this, the company confirmed that the new software update is coming to several Galaxy devices in the coming weeks. You can check the roadmap here.
One UI 5.1 Features
- New dynamic weather widget
- Battery Status Widget
- Integrated Expert RAW
- Powerful Photo Remaster
- Tap face to search person in Gallery
- Shared family albums in Gallery
- Spotify recommendation in Smart Suggestions widget
- Modes and Routines: Custom wallpapers, ringtones, touch sensitivity and fonts
- Integrated Samsung Notes with Google Meet
- Multi control between Galaxy Book and smartphones
- Continue browsing the same pages on their PC
Tips and Tricks
How to use One UI 5.1 Multi Control feature on your Samsung phone
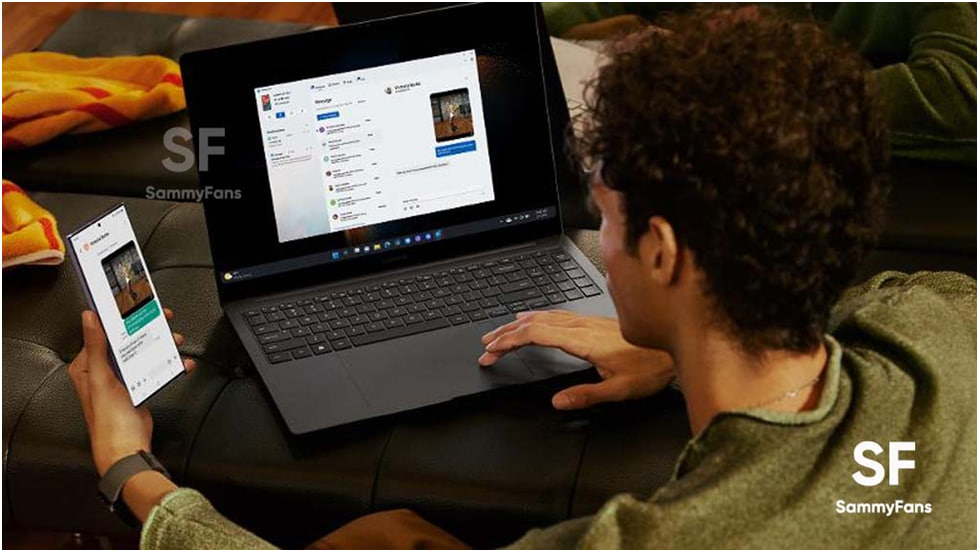
Samsung’s One UI 5.1 software is here with so many new features and improvements for Galaxy customers. One of the notable features of One UI 5.1 software is Multi Control which lets you operate your smartphone through other Galaxy devices.
Follow our socials → Google News, Telegram, Twitter, Facebook
The Korean company has developed new software to create better integration and connectivity throughout the mobile ecosystem, thus introducing new related features to support this goal.
The Multi control feature of the One UI 5.1 software allows the customers to share the mouse, keyboard, and trackpad of their Galaxy Book with Galaxy smartphones and tablets.

Through this, users can effortlessly copy and paste text and drag and drop images from one device to another, with no wired connection required. It also allows you to type a message or other text through your Galaxy laptop.
Here’s how you can use the new Multi-Control feature on your Galaxy S23 phone and Galaxy Book 3 laptop:
One UI 5.1 Multi Control:
First of all, make sure that you have the same Samsung Account, Bluetooth, and Wi-Fi connection on your phone and laptop. Now go to the “Settings” of your phone and visit the “Connected devices” menu.
Simply turn on the toggle for “Multi control” and connect your phone to the laptop. You can now control your mobile device through the big screen, keyboard, and mouse on your laptop.
Use the same mouse or touchpad to drag and drop images, links, etc. For a tutorial, watch the video link mentioned below:

