Tips and Tricks
Samsung Galaxy Note 20 Ultra: How to record and edit 8K videos

Samsung Galaxy Note 20 Ultra is the latest flagship smartphone from Samsung. This premium device comes packed with powerful software capabilities and monstrous hardware performance.
Samsung Galaxy Note 20 Ultra 5G can record 8K videos which is the latest and highest quality picture standard available on the smartphone. It can edit your videos to your liking while maintaining high resolution with zero opacity, even you can also control which microphone to record.
Read More- Samsung Galaxy Note 20 Ultra: Ultimate Camera Tips and Tricks
Record and edit 8K videos
To record 8K videos, you need to enable the setting in the camera app.
- Open the Camera app.
- Tap Settings, tap Rear video size, and then tap 16:9 (8K).
- Tap the Back arrow twice, and then tap VIDEO. Tap Record.
- You can also tap Capture while you’re recording an 8K video to save a high-resolution photo.
- Tap More options (the three vertical dots), and then tap Editor.
- Next, use the slider at the bottom of the screen to trim your video. Swipe to the musical note to adjust the sound level or add background music.
- If you’d like, you can change the video’s resolution to something other than 8K.
- When you are done editing, tap Save.
- To check the resolution details of an 8K video or photo after recording, open the Gallery app. Find the video or photo, and then swipe up on it to view its details.
JOIN US ON TELEGRAM
Record Pro 8K videos on the Note20 5G and Note20 Ultra 5G
- Open the Camera app.
- Tap MORE, and then tap PRO VIDEO.
- Next, tap the Sound input icon on the lower left side of the screen.
- Choose from the five audio input options:
- Omni: This will capture sound from all directions equally
- Front: Ideal for capturing a sound that is coming towards the front of the phone.
- Rear: This is best for capturing a sound that is coming towards the back of the phone.
- USB: Sounds will be captured from a USB-C input, such as a microphone.
- Bluetooth: Sounds coming from a Bluetooth input device will be captured.

- You can control the volume of the input source by adjusting the decibel slider at the bottom of the screen.
- Tap Record to begin recording your video.


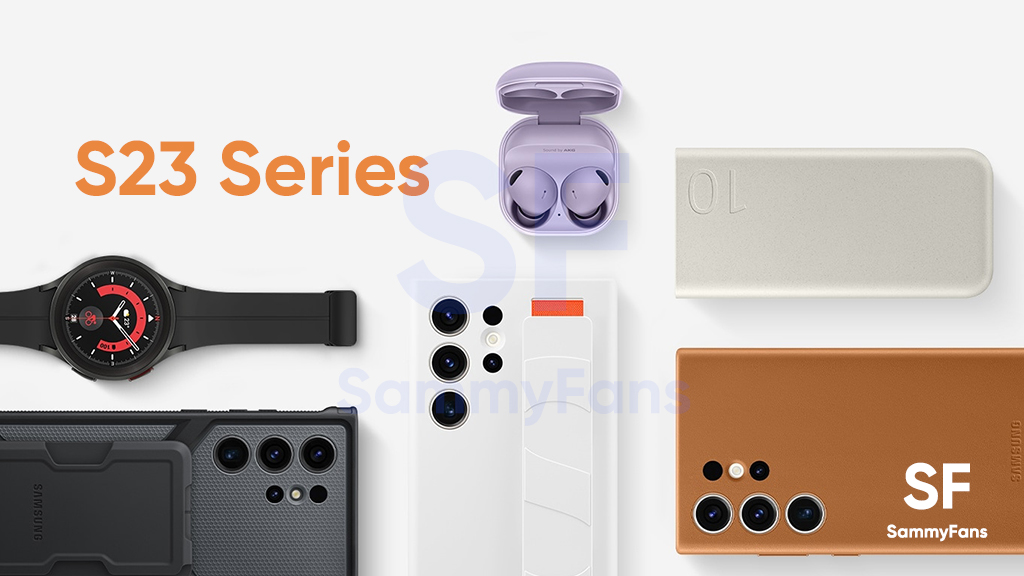
On February 1st, Samsung unveiled the Galaxy S23 series for consumers internationally. On February 17, the company announced the availability of a new lineup in 55 countries. Since S23 units have started to get delivered to early buyers, you should know these two crucial tips for your Samsung Galaxy S23.
Samsung officially published two video guides on its YouTube channel. The first video guides you to perfectly apply the screen protector on your Galaxy S23 / Plus / Ultra smartphone. The second shows how you should install and remove cases and gadgets.
Follow our socials → Google News, Telegram, Twitter, Facebook
In case you’ve purchased the Galaxy S23 smartphone, it becomes important to apply an external screen protector to keep it safe against accidental scratches. Through the official guide, you can apply a screen protector without leaving any of those annoying bubbles or dust particles trapped underneath.
Here’s how to apply screen protector:
Most customers prefer installing a case to give an extra guard against unwanted drops. However, cases and covers nowadays are also being used to further expand the usability and productivity of smartphones. Below, you can watch a tutorial on how to install and remove cases and gadgets.
Here’s how to install and remove cases & gadgets:
Follow our socials → Google News, Telegram, Twitter, Facebook
Until the One UI 5.0, there’s no way to customize the folder of saved screenshots. Though, a bit late, Samsung officially brought the ability to change the folder where screenshots and screen recordings are saved, thanks to the new One UI 5.1 update.
Samsung’s One UI saves screenshots and screen recordings in the DCIM folder by default. Most users wanted the ability to customize the screenshots storage folder, and the new One UI 5.1 update makes it possible on Galaxy devices. If you want to know how to change location, follow the steps given below:
Follow our socials → Google News, Telegram, Twitter, Facebook
- Open the Apps Screen, visit System Settings, followed by Advanced features
- Beside the Smart suggestions, you should see the Screenshots and screen recorder tab, tap on it
- For Screenshots,
- Tap the “Save screenshots in” option
- For the Screen recorder,
- Tap the “Screen recordings in” option


By changing the location, you can prevent the Google Photos app from backing up screenshots and screen recordings. This is quite useful as screenshots will no longer occupy the storage of Google Photos cloud storage. However, separating them also enhances access to the DCIM folder for important images.
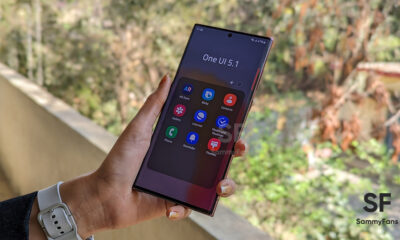
One UI 5.1 is official
On Feb 15, Samsung officially introduced the One UI 5.1 software for older Galaxy devices. Apart from this, the company confirmed that the new software update is coming to several Galaxy devices in the coming weeks. You can check the roadmap here.
One UI 5.1 Features
- New dynamic weather widget
- Battery Status Widget
- Integrated Expert RAW
- Powerful Photo Remaster
- Tap face to search person in Gallery
- Shared family albums in Gallery
- Spotify recommendation in Smart Suggestions widget
- Modes and Routines: Custom wallpapers, ringtones, touch sensitivity and fonts
- Integrated Samsung Notes with Google Meet
- Multi control between Galaxy Book and smartphones
- Continue browsing the same pages on their PC

Samsung’s One UI 5.1 software is here with so many new features and improvements for Galaxy customers. One of the notable features of One UI 5.1 software is Multi Control which lets you operate your smartphone through other Galaxy devices.
Follow our socials → Google News, Telegram, Twitter, Facebook
The Korean company has developed new software to create better integration and connectivity throughout the mobile ecosystem, thus introducing new related features to support this goal.
The Multi control feature of the One UI 5.1 software allows the customers to share the mouse, keyboard, and trackpad of their Galaxy Book with Galaxy smartphones and tablets.
Through this, users can effortlessly copy and paste text and drag and drop images from one device to another, with no wired connection required. It also allows you to type a message or other text through your Galaxy laptop.
Here’s how you can use the new Multi-Control feature on your Galaxy S23 phone and Galaxy Book 3 laptop:
One UI 5.1 Multi Control:
First of all, make sure that you have the same Samsung Account, Bluetooth, and Wi-Fi connection on your phone and laptop. Now go to the “Settings” of your phone and visit the “Connected devices” menu.
Simply turn on the toggle for “Multi control” and connect your phone to the laptop. You can now control your mobile device through the big screen, keyboard, and mouse on your laptop.
Use the same mouse or touchpad to drag and drop images, links, etc. For a tutorial, watch the video link mentioned below: